
Red Velvet Cookies
- Laura

- Jul 23, 2020
- 3 min read
Updated: Jul 28, 2020
Simple chocolate and vanilla cookies with white chocolate chunks!
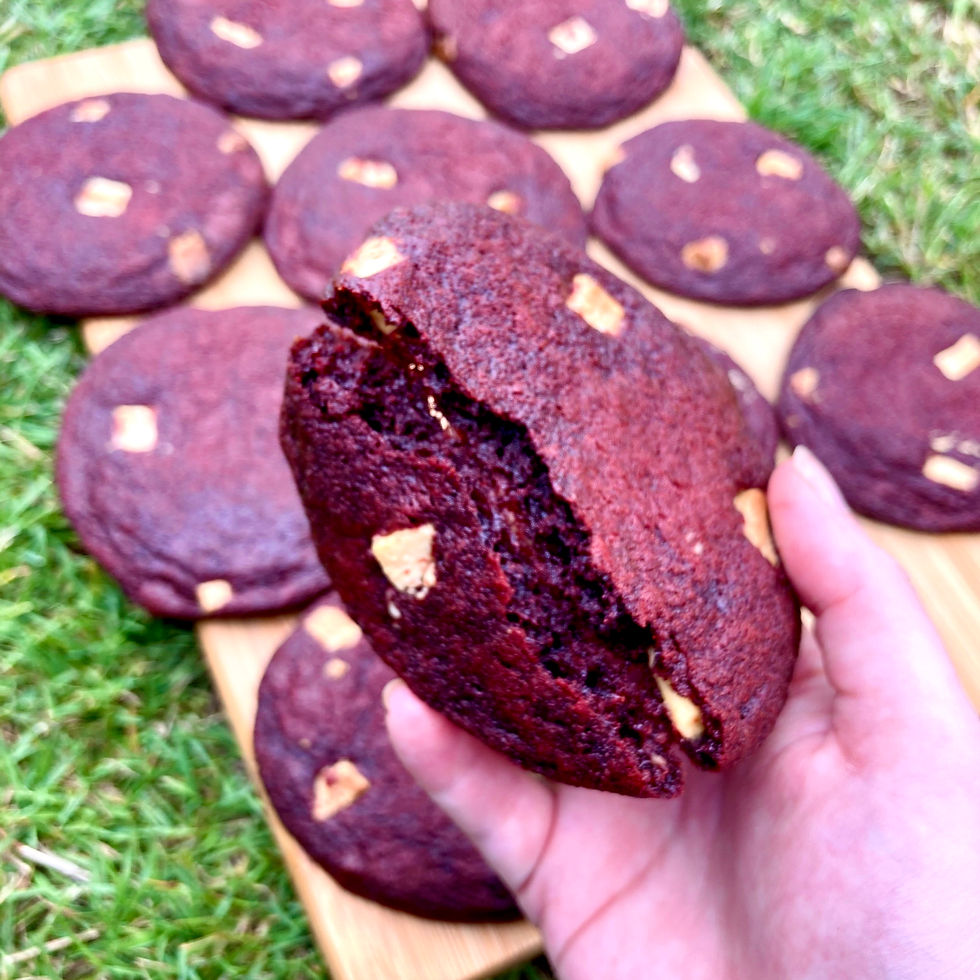
Red velvet is an extremely popular choice at the moment as it takes the deliciousness of chocolate and makes it more exciting! Red velvet is made using chocolate/cocoa powder and vanilla with red food colouring. It's also traditionally paired with cream cheese, but for this red velvet cookie recipe it uses yummy white chocolate chips instead!
My Notes:
I'm a big fan of red velvet so decided to make some cookies! Typically you usually see red velvet cakes, but these cookies have all the fun of red velvet and are just as delicious! Plus, they're really easy to make! For this recipe, I decided to use white chocolate chunks. I'm not a big fan of cream cheese, so the white chocolate gives it the classic look with a much sweeter taste! This recipe also makes around 15-18 cookies so plenty to go around.
Serves: 15-18 Cookies
Prep Time: 20 Minutes
Cooking Time: 13 - 15 Minutes
Allergies: Contains Dairy & Egg

Please note these are only rough nutritional facts and will depend on the specific ingredients used.

Ingredients:
175g Butter/Stork
200g Soft Light Brown Sugar
100g Caster Sugar
1 Egg
2 tsp Vanilla Extract
1-2 tsp Red Food Colouring
225g Plain Flour
25g Cocoa Powder
1/2 tsp Bicarbonate of Soda
150g White Chocolate Chips/Chunks
Method:
Preheat the oven to 190°C/170°C fan/gas mark 5 and line 1-2 baking tray(s) with baking paper.
Place the butter and both sugars in a bowl and cream together.
Beat in the egg, vanilla and red food colouring. Use as much food colouring as needed to achieve the desired colour (remember the cocoa powder will take away some of the red).
Sift in the flour, cocoa powder and bicarbonate of soda and mix well.
Fold in the chocolate chips.
Take a golf ball-sized amount of the dough and roll into balls and place on the tray, making sure to leave plenty of room for them to spread in the oven.
Bake in the oven for 13-15 minutes until harder around the edges but still soft in the middle. Bake in batches if needed depending on the size of your trays and oven.
Leave to cool on the tray for 10-15 minutes before transferring to a wire cooling rack.
Enjoy!
My Tips:
This recipe uses both soft light brown sugar and caster sugar. If really needed, you can just use one type, but for the best flavour and texture, I recommended sticking to both.
The exact colour of your final cookies will depend on a few factors. Firstly, the type and amount of red food colouring you use. I found that supermarket gel colouring wasn't strong enough to get the colour I wanted, so I use a red food powder.
I would recommended adding more rather than less when it comes to the red food colouring! It may look like a good colour when your first add it, but remember that they cocoa powder will darken it and it will also darken in the oven! I have made a batch before that looked red at first but came out looking like a regular chocolate cookie!
If you want more precise and uniform-looking cookies, instead of using your hands to roll the dough into balls, instead you can try placing the dough on a piece of baking paper and using it to create a long sausage-type shape that's about 2-3 inches wide. You can then chill the dough for 15-30 minutes (or longer) and then cut into pieces that are around 1cm wide.
As you need to leave plenty of room for these cookies to spread, I would recommend cooking it batches. Leave the remaining cookie dough in the fridge while the others cook.
If you don't want to eat them all at once, you can try freezing the cookie dough and saving it for later.
If you want more authentic red velvet, try adding a drizzle of cream cheese over each cookie.
If you do decide to try out my red velvet cookie recipe, I'd love to see some pictures! Tag me on instagram @lauras.bakery_ so I can have a look!


Comments